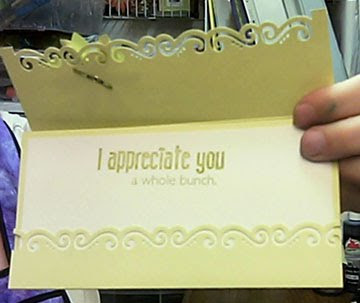
 Last card in this set of cards using ClubScrap's Castaway kit.
The majority of the materials used in this project are from ClubScrap. TFL DebDuzScrappin

 Last card in this set of cards using ClubScrap's Castaway kit.
 Another card using ClubScrap's Castaway kit.

 a couple more cards, using the castaway papers from ClubScrap.

 Another card using ClubScrap's Castaway kit.

 More cards using ClubScrap's Castaway kit.

 More "Thank You" cards using ClubScrap's Castaway papers.

 More Thank You cards using the Castaway papers from ClubScrap.

 Used my new edge punch on these cards and the papers from ClubScrap's Castaway kit.

 OOOhhhh man its been ages since I posted. So sorry about that.
 Anyways back to scrapbooking...One of my most favorite holiday things to do with my children is having a “Countdown” to the holiday. Doesn’t matter to me if it is a countdown to Easter, Halloween, Christmas, or even a birthday, our family just loves counting down the days and letting the anticipation of the event grow and grow.
I have over the years made a variety of different countdown calendars, but I think this new one is my favorite one yet!
This particular project is a combination of counting down to the holiday but in a gorgeous “wreath”, which is just perfect for hanging on your wall and having as a beautiful piece of wall art. It is a very simp le project using tiny matchboxes and by strategically stacking them, create this almost life-like 3D wreath. I found my little matchboxes at the local grocery store.
Once you make this project you can fill the little boxes with a sweet treat or little notes or whatever strikes your fancy. Your family will look forward to each new day and the surprised that awaits them in that little tiny drawer.
I will post the instructions for this soon. I have to do up lil drawings for it. I hope you enjoy this great simple project as much as I do, and good luck in all your Scrapbooking adventures.

